


Four weeks to make it - 7 props students on the job.
Initial reference from designers showed the dragon had to be a rusty metal effect as though the baddie of the story made it out of scrap metal and put his soul into it.
The references measured it out as 9 feet in length and it had to fly about the audience and breathe smoke from it's mouth.
WoW!
Jobs were delegated - I started work on the tail piece with another student.
Looking at the reference - the tail would be attached to a rope and had to be able to be move in a serpentine manner.
We decided to use Plastizote rings(a thick plastic/foam sheeting) connected by cloth hoops.
This would allow for a rigid structure and also articulation.
After much measuring... using a triangular shape we cut out 11 strips and interconnected them with muslin using contact adhesive and cable ties until it looked like this...


the large ring was to fit onto the body and the smaller end ring would finish off at the end of the tail. The end of the plastizote had to be cut at an angle to produce a tear shape. The biggest struggle at this point, was working out the length of each ring in relation to the next. that's why we came up with using a triangular shape. The tail had to get progressively smaller as it extended from the body.
 > with tail piece.
A circular steel rod was added onto the end (where the black gaffa tape is) so that a rope could be attached at a later date by TSM for flying purposes.
With the tail inner structure finished - I moved onto the wings.
How to make a wing structure for a nine foot dragon ?!?
 With poles and some cotton cloth and a quick sketch of a wing structure-
Myself and another student laid out some fabric and bent plastic tubing into shape to aquire a wing shape. We drew the shape onto the cloth with an idea to sew channels into the material to hold it in place. The pipe seemed to revert back to it's straight natural setting, so I had to use a heat gun - hammered some nails into a piece of wood to create a channel for the pipe and heat it til it stayed in the bend I wanted.
 _
_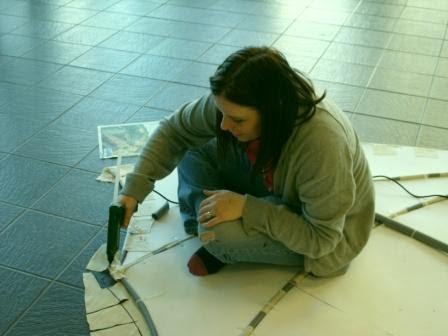 > what would you do without the Glue Gun!?!
The pipe - even though bent in the shape we wanted, moved about freely, so we added plastizote between the piping to keep the structure.
 >
> >
>
when I lifted the wings up I noticed they bent - so I added an extra strap of piping across to give it rigidity.

Time for some painting!!!
First I gave a coat of PVA - to prime the surface, then a coat of black.

next stage - dry brush silver onto the black for that metallic effect >>
 >>
>>
Finally used a can of 'dirty down' in places to give that rust effect!
same paint effect onto the tail -
 >>
>>
Then waited for the rest of the dragon to be finished by the other students so it could all be attached together!
 >>
>>
 >>
>>
It took 20/25 student to support the dragon into the middle of the theatre so it could be attached to the ropes that would fly it..

Working on the dragon was by far one of the most exciting projects I've been involved with. Each section required its own problem solving and trouble shooting. The learning curve during this project was huge. the need to be able to work as a team was essential.
Although i went off to work on my own segment at times, I had to bear in mind I would have to come together with the rest of the team to piece it all together in the end.
The outcome was immensely successful - the best comment I heard to date from people on seeing the dragon suspended in the theatre was - "wow is that made from metal ?- gosh that's gotta be heavy!"
1 comment:
hvorfor ikke:)
Post a Comment